Adobe Photoshop has evolved in leaps and bounds over the years and still remains as the most effective photo editing program to this day! It became my primary photo editing program when I first started blogging in 2004. I now mostly use Adobe Lightroom these days for my photo processing needs, but I still love to use Photoshop! I’ve also come to love PSE for quick and basic photo editing, such as rotating, resizing, cropping and fixing poor lighting or white balance. It’s a simplified version of Photoshop and Lightroom that’s user-friendly and budget-friendly. That’s why PSE is the perfect photo editing program to begin with if you’ve never used a photo editing program before, or simply wanting a more advanced photo editing program opposed to the free photo editing programs.
Adobe Photoshop Elements 14 is the latest version of Photoshop Elements. It has new and improved features like the capability of removing camera shake that comes from unsteady hands, removing haze from images, giving them a fresh, crisp look; and faster edits. It also features 34 Guided Edits. Some of the new options within the Guided Edits include a feature that enables you to add a sense of motion to your pictures and resizing a picture to fit a certain frame. One of the drawbacks about Adobe Photoshop Elements 14 is it can be inconvenient if I’m wanting to edit a number of pictures simultaneously.
Adobe Photoshop Elements 14: Editing Examples
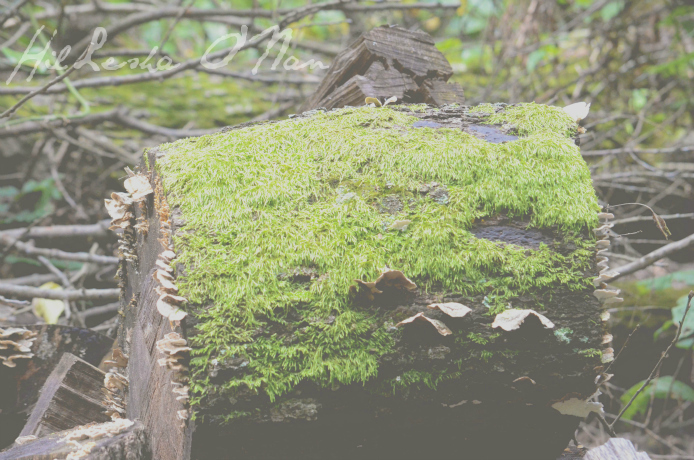
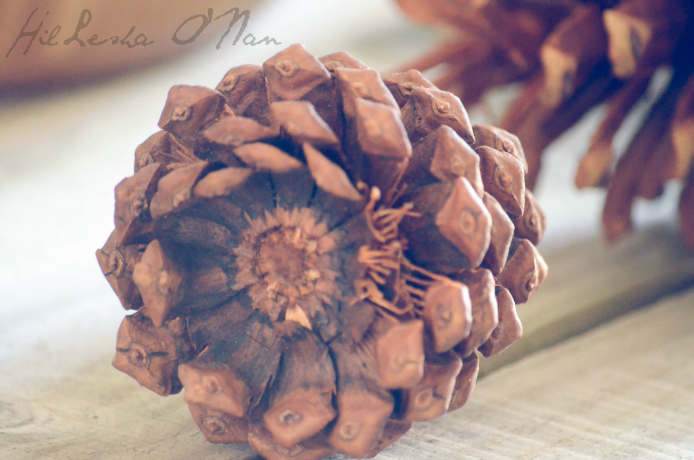
Before
I originally gave this picture a hazy, dream-like effect in Adobe’s Photoshop Lightroom 6 by lowering the contrast.
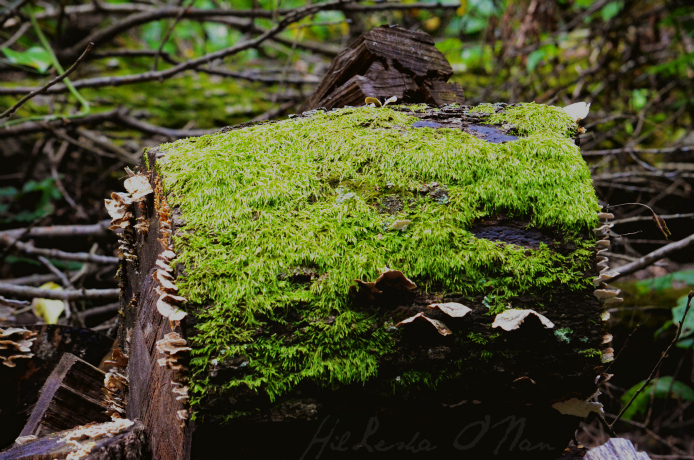
After: Auto Contrast
I livened it up by going to the Enhance section and clicking on Auto Contrast within Adobe Photoshop Elements 14.
Effects
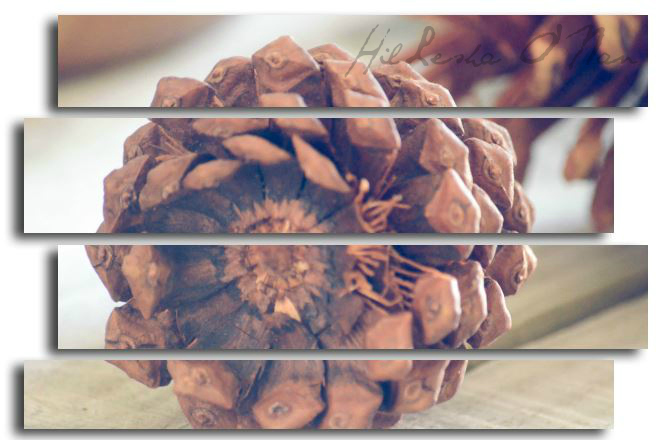
There’s many effects you can apply on your pictures, including Old Vignette, Squares, Pathway, Maze, Zig Zag, and Winters, to name a few.
Before
After: Zig Zag
I believe that photography should be fun! In this picture, I added Effects (Zig Zag) by going to the Window section.
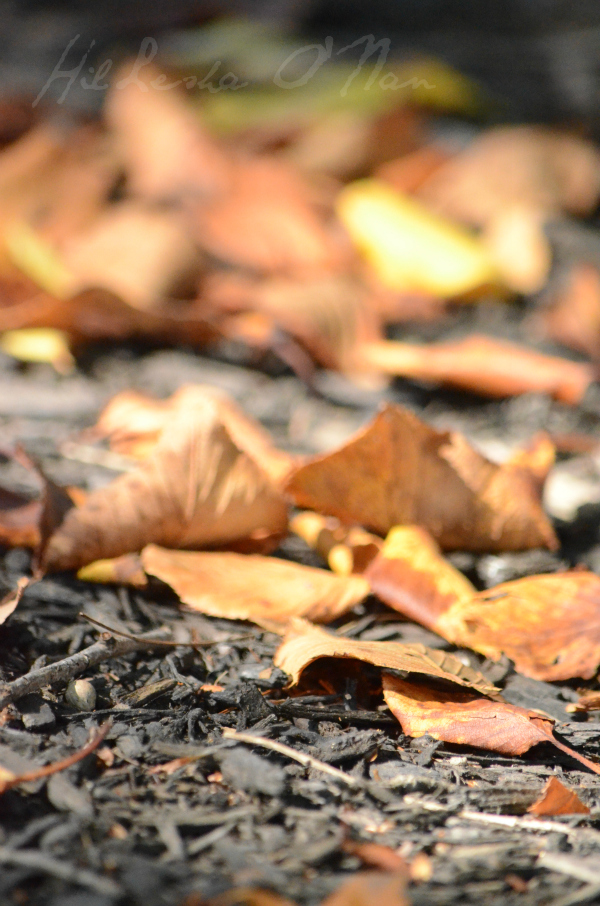
Before
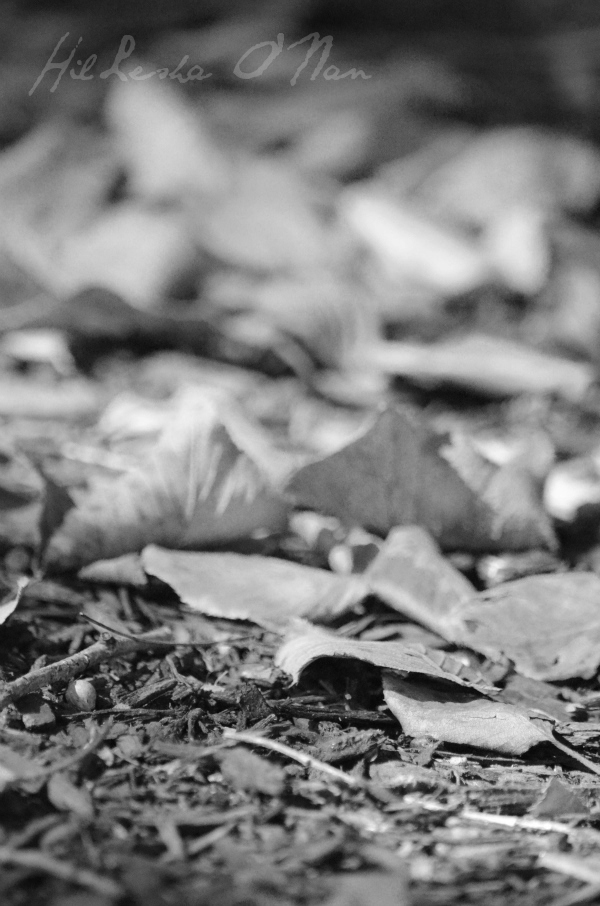
After: Convert to Black and White
I love watching old movies, so I naturally appreciate the look of black and white photography. I instantly gave this picture a black and white look by clicking on the Convert to Black and White underneath Enhance.
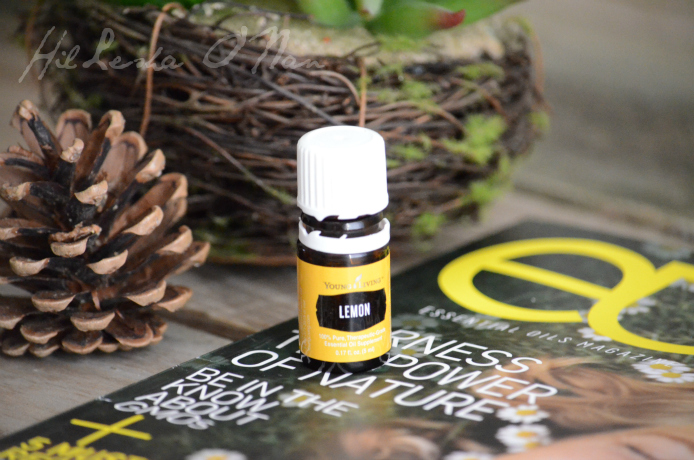
Before
This picture is exceptionally bright! I thought it needed a little pop, but not where it looked a little washed out in some areas.
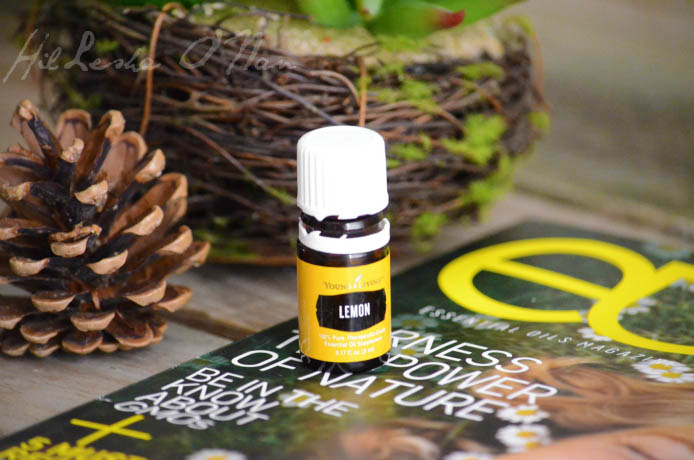
After: Vibrance
That’s where vibrance comes into play, which can be achieved by clicking on Color on the right side, and then clicking on the Vibrance section. It shows nine different vibrancy levels. I picked the last one! I still wanted to tinker with the picture a little.
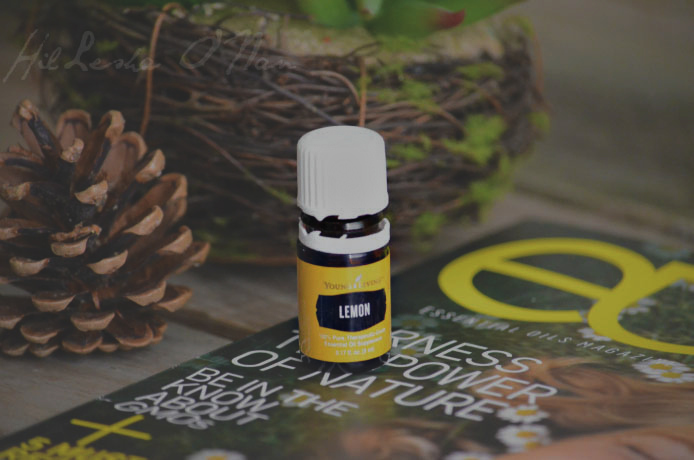
After After: Lower Exposure
I lowered the Exposure and Contrast (found underneath Adjustments). Then, I turned around and added brightness to the bottle with a different photo editing program. This made everything else seem like an afterthought, picture wise!
What is your go-to photo editing program?
The reviewer has been compensated in the form of a Best Buy Gift Card and/or received the product/service at a reduced price or for free.










Add Comment